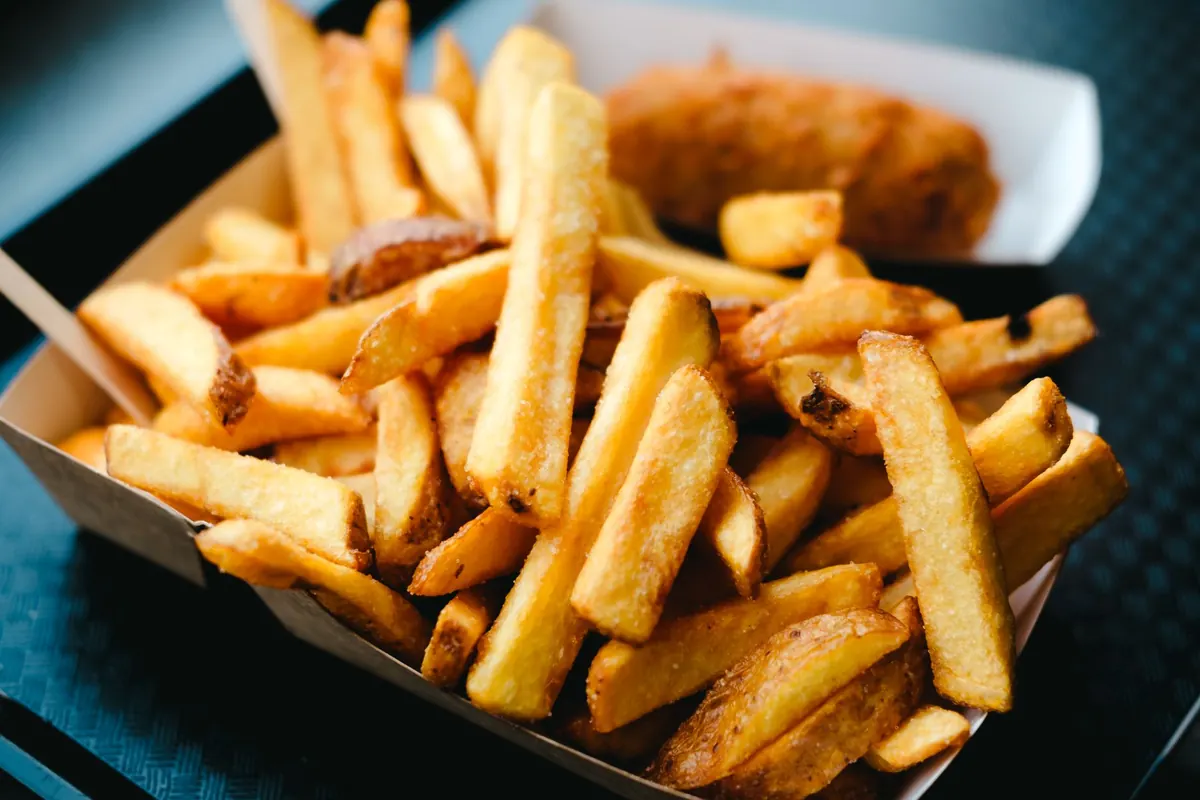
Triple-cooked chips are not a restaurant trick that needs a commercial fryer. They are three separate jobs done in the right order: a gentle boil, a cool first fry, and a fast hot finish. Skip any one of them and it shows on the plate. The boil sets the inside creamy, the first fry drives off surface moisture, the rest in between firms everything up, and the second fry builds a shell that shatters instead of bending. Total time is around two hours, but most of it is waiting. You need a thermometer, a deep heavy pan, and a rack. That is it.
What each of the three cooks is doing
Potatoes are full of starch and water, and the two behave differently depending on heat. Simmering them in water first gelatinises the starch and softens the middle, which is what gives you that fluffy interior. If you went straight to hot oil, the outside would brown and harden long before the centre cooked through.
The first fry, at a low temperature, is mostly a drying operation. Water boils off from the surface and just under it, and the potato starts to set. The chips come out pale, limp and slightly leathery. That is exactly right.
Then the rest. Cooling firms the surface and lets the last of the moisture settle, so when the chips hit hot oil again they crisp quickly rather than steaming themselves soft. The second fry is short and hot: colour, crunch, done.
- Cut the potatoes, rinse off surface starch.
- Simmer until just tender, then drain and dry.
- Fry at 130°C until pale and floppy.
- Rest at least 30 minutes, ideally overnight.
- Fry at 180°C until deep gold, then salt at once.
Pick the right potato and cut it properly
Floury potatoes give the best result: Maris Piper, King Edward, Russet, Desiree. They break down slightly at the edges, which is where crunch comes from. Waxy salad potatoes hold their shape too well and stay glassy inside. If floury is all you can find, you are fine.
Cut chips about 1.5cm thick and 6–7cm long. Thinner than that and they overcook in the second fry; thicker and the middle stays raw while the outside darkens. Take a minute to sort them — a tray of evenly sized chips cooks evenly, and no amount of technique fixes a mix of batons and doorstops.
Rinse the cut chips in cold water until it runs clear. You are washing away loose surface starch that would otherwise glue them together in the pan.
Stage one: the boil
Start the chips in a pan of cold water, not boiling water, so they heat through gradually. Add a good pinch of salt, a splash of malt vinegar, and — this is worth knowing — a very small pinch of bicarbonate of soda, no more than a quarter teaspoon per litre. It helps the outside soften and roughen slightly, which later becomes texture. Too much and you will get mash.
Bring to a bare simmer, not a rolling boil, and cook for 6 to 10 minutes depending on the thickness of your cut. Test with a knife: it should slide in with a little resistance in the centre. If it goes in with none, you have overcooked them and they will fall apart.
Drain carefully in a colander, then spread the chips in a single layer on a rack and leave them to steam dry for 5 minutes. Water is the enemy of crispness, and it also makes hot oil spit. Move them to the fridge while you set up the oil.
Stage two: the first fry at 130°C
Use a neutral, high smoke point oil — rapeseed, sunflower, groundnut — or beef dripping if you want the traditional chip shop flavour. Never fill the pan more than a third full, and never leave hot oil unattended. Keep a lid within reach, and make sure the chips going in are dry.
Heat the oil to 130°C. Fry in small batches, roughly a handful at a time, for 6 to 8 minutes. You are not looking for colour. The chips should come out pale, soft and slightly translucent at the edges, and the oil temperature will dip when they go in — give it time to come back before the next batch.
Lift them out with a slotted spoon onto a rack, not kitchen paper. Paper traps steam underneath and softens the underside. A rack lets air move around every chip.
The rest in between
This is the step most people skip, and it is the one that separates good chips from very good ones. Let the chips cool completely, uncovered, for at least 30 minutes. An hour is better. Overnight in the fridge is better still, and it means you can boil and first-fry in the evening, then finish them in four minutes the next day.
Uncovered matters. A sealed container traps moisture, and you will undo the drying you just paid for.
Stage three: the second fry at 180°C
Bring the oil up to 180°C, or 190°C if your chips are on the thick side. Fry in batches again — crowding drops the temperature and steams them. Three to four minutes is usually right. Watch the colour rather than the clock: you want a deep, even gold, with the edges just starting to catch.
Pull them out, shake off the oil, and salt immediately while the surface is still hot enough to hold the crystals. Sea salt flakes are worth it here; fine table salt disappears into the oil.
Serving, salting and fixing what went wrong
Chips are at their best about ninety seconds after they leave the oil. If you are cooking for a crowd, hold finished batches in a single layer on a rack in a low oven, around 100°C, with the door slightly open so steam escapes. They will stay crisp for fifteen minutes or so, but no longer.
Malt vinegar, salt and nothing else is the classic. If you want sauce, keep it on the side and dip — pouring anything wet over the top softens the crust you worked for.
- Soggy chips: they went in wet, or the oil was under temperature, or you crowded the pan.
- Dark outside, raw inside: cut too thick for the time given, or the first fry was too hot.
- Greasy finish: the second fry was too cool, so the chips soaked oil instead of sealing.
- Breaking up in the pan: boiled too long, or handled roughly when draining.
- Pale and pale only: the second fry needed another minute or a slightly hotter pan.
The method is forgiving once you have done it twice, because you start to read the chips rather than the timer. Pale and floppy after the first fry, cold and firm after the rest, deep gold after the second. Do it once properly and the frozen bag stops making sense.
Photo: Markus Winkler / Pexels